The Ultimate Field Trip Checklist for UK Mineral Collecting

A good day out collecting minerals rarely announces itself. It is the grey morning in Weardale when a spoil heap finally surrenders a cube of purple fluorite, or the damp afternoon in Cornwall when a dull lump of quartz turns out to be shot through with cassiterite. What separates a memorable trip from a miserable one is seldom luck. It is whether the kit was packed, the permissions were sorted and the finds were labelled before they went in the bag. Print this, fold it, and keep it in your rucksack.
Before You Leave the House
Most wasted trips are decided at the kitchen table, not on the hillside. Ten minutes of checking beats two hours of driving to a site you cannot legally enter.
- Check the forecast and, for coastal sites, the tide times. A falling tide on the way out is a rising tide on the way back.
- Work out daylight hours and how long the walk in will take. Allow roughly twice as long for the walk out with a heavy bag.
- Check the site's status. Is it a Site of Special Scientific Interest, a Scheduled Monument, a National Trust or Wildlife Trust reserve, or a working quarry? Each has its own rules.
- Tell someone where you are going, your route and when you expect to be back. Give them a grid reference, not just the nearest village.
- Charge your phone and download offline maps. Signal on Dartmoor, in the Pennines and along much of the Scottish coast is patchy at best.
- Read up on what actually occurs there. Knowing the difference between a spoil heap and an outcrop saves hours of pointless hammering.
Safety Kit
Quarries, cliffs and stream beds are working environments, even when they look peaceful. A hard hat and eye protection are not optional extras.
- Head and eye protection: a hard hat with a chin strap, plus safety glasses or goggles. Chips fly further than you think.
- Hands and feet: cut-resistant gloves and sturdy boots with ankle support and deep tread.
- Lungs: a dust mask for any drilling, sawing or dry sieving. Silica dust is not worth breathing.
- Visibility: a high-vis vest if you are anywhere near roads, plant or machinery.
- Water and food: more than you think you need, especially on exposed moors.
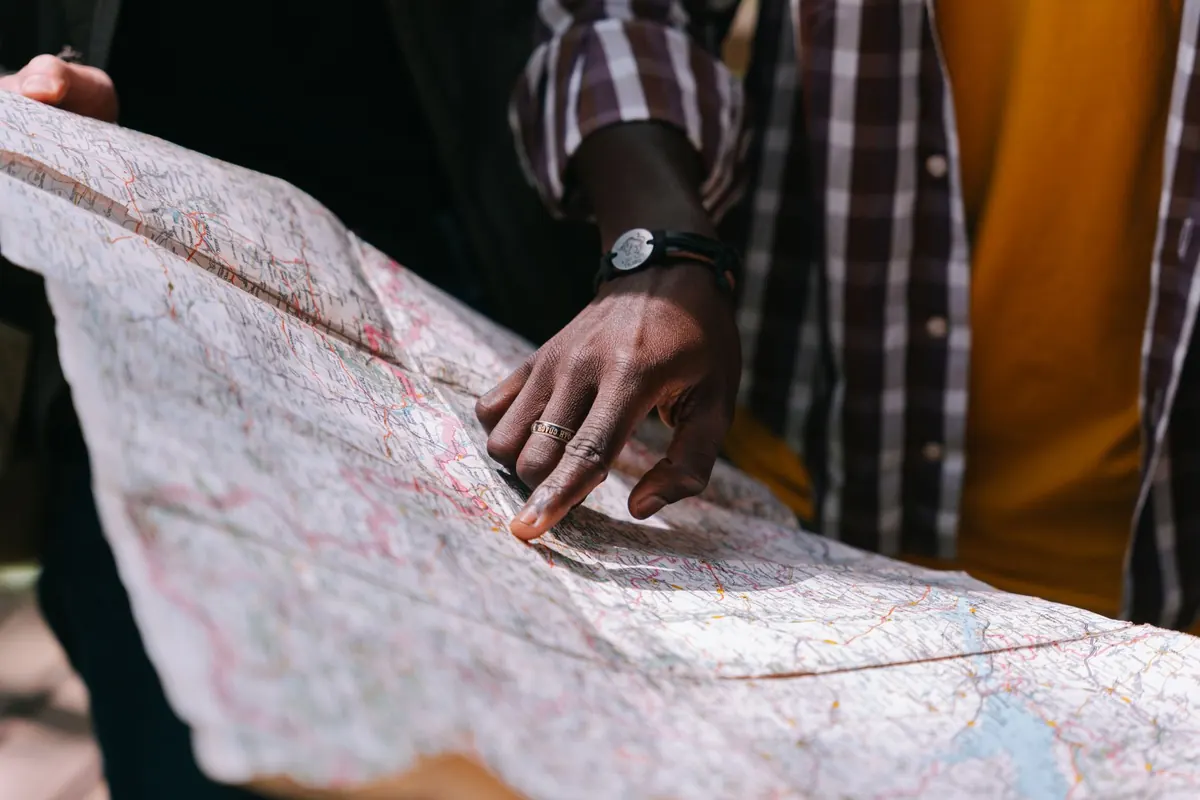
- Extras: headtorch, whistle, spare layers, waterproofs, sun cream, midge repellent, power bank, and a paper map with compass as backup.
Dressing for a British Forecast
Layers, always. A morning that starts at four degrees on a Northumberland beach can reach twenty by lunchtime, and sea fog arrives without warning. Avoid loose cuffs and dangling straps near moving machinery or loose scree.
Tools of the Trade
Buy fewer, better tools. A cheap hammer that mushrooms at the head is dangerous as well as useless. Bring what the site needs, not everything you own.
- A geological hammer, plus a heavier crack hammer and a couple of cold chisels for stubborn rock.
- A small pry bar, hand trowel and fork for clay and soft spoil.
- Sieves for stream gravels, and a 10x hand lens for checking specimens in the field.
- A field notebook and a pencil. Pencil works when the paper is wet; ink does not.
- Permanent marker, paper labels and small grip-seal bags.
- Wrapping: newspaper, tissue or bubble wrap, plus a strong lidded box for anything fragile.
- A bucket or rubble sack, and a rucksack with a waist belt to carry the weight comfortably.
Permissions and Access
This is the part that catches people out, and it matters more than any piece of kit. In the UK, permission to enter land is not the same as permission to remove material from it, and the two are often granted separately.
Always ask the landowner or occupier first — a knock at the farmhouse door, politely done, works far better than a note left on a gate. Working quarries almost always require prior arrangement, a site induction and personal protective equipment, and turning up unannounced will usually end your day early.
Some places are off limits entirely, or effectively so. Sites of Special Scientific Interest are protected, and disturbing geological features there normally requires consent from the relevant conservation body. Scheduled Monuments have their own consent regime. Conservation charities such as the National Trust and the Wildlife Trusts generally prohibit hammering and the removal of geological specimens from their land. On many fossil coasts, collecting loose material from the beach is accepted while hammering into cliff faces is not.
The foreshore in England, Wales and Northern Ireland is largely owned by the Crown Estate, and in Scotland by Crown Estate Scotland; access and collection rules differ, so check before you travel. If you are unsure about ownership, access rights or what you are allowed to remove, ask the landowner and, where it matters, take proper legal advice. Joining a local geological or mineral society is often the quickest route to legitimate access, as many hold long-standing arrangements with landowners.
Wherever you go: fill in your holes, leave gates as you find them, take your litter home and do not damage walls, fences or exposures.
First Aid and Emergencies
You are unlikely to need much, but you will want it to be there and in date. Check the kit before every season, not before every trip.
- Plasters, blister plasters, antiseptic wipes, gauze, medical tape and a triangular bandage.
- Tweezers, a tick removal tool, eye wash and nitrile gloves.
- A foil emergency blanket, your own medication, and a note of allergies and next-of-kin contact.
- A charged phone with the location of your parking spot saved, and a note of your grid reference as you go.
Clean and cover cuts straight away — sharp specimen edges and rusty chisels are filthy. Check that your tetanus cover is up to date with your GP. If you are hurt in a remote area, call 999 and be ready to give an exact location; a grid reference or a what3words address is far more useful than "somewhere near the reservoir". This is general guidance only: for anything beyond a minor injury, or if a wound becomes hot, swollen or painful, seek professional medical advice promptly.
Recording Your Finds
A specimen without a label is a pretty rock. A specimen with a label is a record, and often the more valuable thing.
- Label as you go, never at the end of the day. Write the site name, grid reference, date and your name on a paper label and keep it with the specimen in its bag.
- Number each find and keep a matching entry in your notebook, so the label and the notes can be cross-referenced later.
- Record the context: was it loose on a spoil heap, in situ in a vein, or in beach shingle? That detail is impossible to reconstruct afterwards.
- Photograph the specimen before you wrap it, with a coin or rule for scale, and take a wider shot of the exposure.
- Note associated minerals and matrix. If in doubt, keep a small sample and photograph the rest.
- Back home, transfer everything to a digital log and back it up. Keep a duplicate list somewhere other than the box the specimens live in.
Print It, Pack It, Use It
Print this page, tick the boxes the night before, and restock anything you use. Keep the checklist in the top of your rucksack so you can run through it again before you leave the site — it is far easier to notice a missing label or a forgotten glove at the car than at home. Collect carefully, leave the site better than you found it, and the good days will keep coming.
Photo: jwvein / Pixabay