Winter Mineral Hunting in the UK: How to Spot Crystals in Frost-Weather Exposures
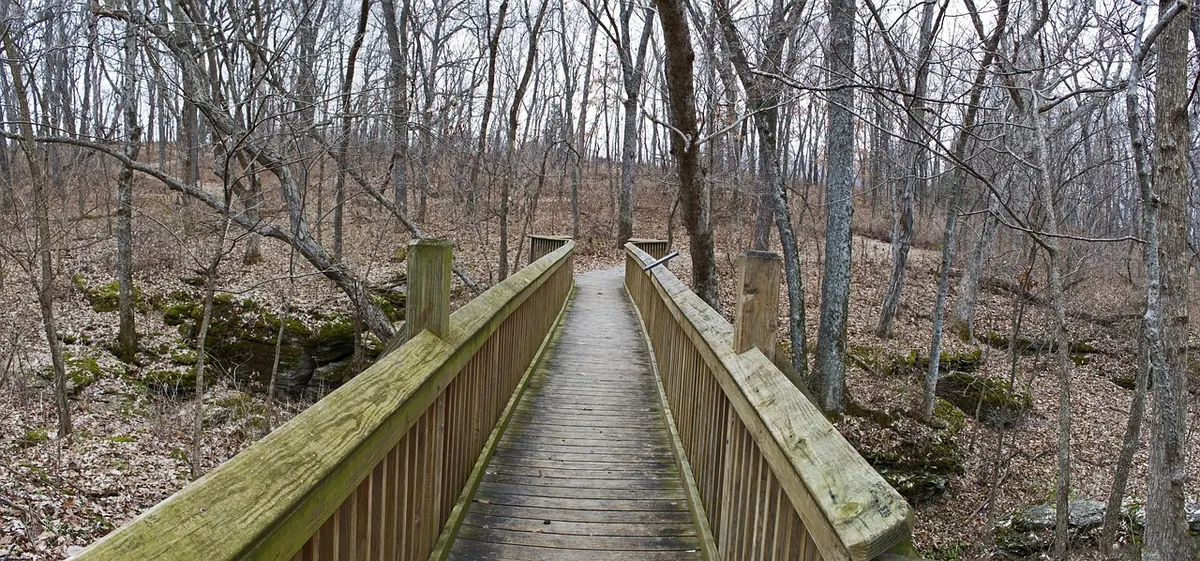
Most collectors pack their boots away when the first hard frost arrives. That is a mistake. Winter takes the cover off the British countryside: bracken collapses, nettles die back, streams run high and clear, and the freeze-thaw cycle prises fresh material out of outcrops and scree. Plenty of good specimens are found in January, by people with cold hands and a spare hour.
You do not need a secret locality. You need to understand what frost does to rock, where to look once the vegetation has gone, and how to work sensibly when daylight is short and the ground is hard as iron.
What frost does to an exposure
Water seeps into joints, bedding planes and hairline cracks. When it freezes it expands, and that expansion is strong enough to widen cracks and lever fragments away from the parent rock. Repeat the cycle a few dozen times over a winter and a face begins to shed.
The practical results are easy to spot if you know what you are looking at:
- Fresh debris on scree slopes and at the foot of quarry faces, particularly after a cold snap follows wet weather.
- Loose slabs lying along joint lines, often with crystal faces that have not yet been dulled by rain and lichen.
- Minerals pushed upwards in soil by ice needles: dark, bare ground, plough edges and old spoil heaps are worth a slow walk.
The first cold morning after a wet spell is usually the best. Look at what has arrived overnight rather than what has been lying about since October, because older debris has been picked over and washed.
Reading the ground after a cold snap
Frost is only half the story. Winter rain and meltwater move material downhill and deposit it in predictable places. A stream in spate will strip clay and silt off gravel bars, leaving pebbles and small crystals sitting proud and clean. Quartz, agate, jasper and iron-stained material stand out well against wet shingle.
Other places to check, in rough order of how often they pay off:
- Molehills and rabbit scrapes. These bring subsoil and small stones to the surface for free.
- Root plates of windblown trees. A fallen tree lifts a whole section of soil and shattered rock into the air.
- Undercut stream banks and path edges. Water and boots cut into the profile; look along the exposed line.
- Spoil heaps near old workings. Rich in material, but check the site status first.
- Field edges and gateways. Frost heave lifts stones that have sat buried for years.
When bare vegetation helps, and when it does not
Dead bracken, cut heather and collapsed nettles open up ground that is invisible from May to September. Deciduous woodland without leaves lets light down to the forest floor, and hedgerow banks become readable again. In upland areas, the winter shape of the land shows itself: you can trace a vein or a line of old trials across a hillside that would be hidden under a green canopy in summer.
Two cautions. First, moss and ivy are still holding water and hiding rock faces; resist the urge to strip them off, because it damages the exposure and looks terrible to anyone who follows you. Second, thin snow cover can be useful for showing the shape of ridges and shafts, but never dig through snow onto a slope. It hides loose edges, open shafts and unstable ground, and the risk is not worth any specimen.
Winter light is your second tool
Low sun rakes across a surface rather than blasting it flat, which throws crystal faces, cleavage planes and small colour differences into relief. Mid-morning and mid-afternoon are often better than noon for this. Flat, overcast light has its own advantage: no glare, so colours read more honestly and wet specimens look closer to how they will appear once cleaned.
Carry a 10x hand lens and keep it in an inside pocket so it stays warm. A cold lens fogs the moment you breathe near it. When you photograph a find in the field, include a scale, a north arrow or a recognisable landmark; you will not remember which side of the wall it came from in three weeks.
Staying safe on short, cold days
Winter field trips fail for boring reasons: a turned ankle in the gloom, wet gloves, a tide that came in faster than expected. Plan to be back at the car well before dusk and carry a head torch regardless. Tell someone your route and your return time, and remember that signal is patchy in exactly the places where minerals are good.
Wet rock that freezes becomes glassy, and frozen ground hides loose stones. Take your time on slopes, avoid standing beneath overhanging faces or cliffs, and stay away from the base of sea cliffs, where falls are common after heavy rain and frost. Check tide tables before any coastal trip, and treat mudflats and soft estuaries as off limits. Never enter mine workings, adits or shafts, and never trust old timber. Hidden shafts can be covered by snow, bracken or a thin crust of soil.
Permission, protected sites and good manners
A right to walk somewhere is not a right to remove rock from it. On private land you need the landowner's permission before you collect, and in Scotland the statutory access rights that allow you to cross land do not extend to taking minerals away. Mineral rights are frequently held separately from the surface, and some substances are reserved to the Crown, so a friendly word in advance saves a lot of trouble.
Sites with statutory protection, including SSSIs, national nature reserves and many upland and coastal sites within national parks, may restrict collecting or require consent. Rules differ between England, Scotland, Wales and Northern Ireland, so check with the relevant conservation body, the local records centre or a reputable mineral club before you travel. If you are unsure about a site's status or your right to collect there, ask before you go rather than afterwards.
Beyond the rules, the etiquette is simple. Fill your holes, take only what you can carry and identify, leave the exposure as you found it, and keep notes of what came from where. Noteworthy finds are worth reporting to a local museum or records centre; the information outlives the specimen.
A practical winter plan
- Choose a target you already know in summer: a stream, a scree slope, a familiar stretch of coast.
- Check access, weather and tides the day before, and again on the morning.
- Time it after a hard frost and before the next heavy rain, and aim to be off the hill by mid-afternoon.
- Pack a 10x lens, hammer and chisels if permitted, safety glasses, gloves, warm layers, flask, head torch, map, phone, first aid kit and something to wrap specimens in.
- Work the loose debris first. Fresh scree and stream gravel give up more than a hammer ever will.
- Wrap and label finds on site, before cold fingers make you careless.
- Log the locality in a notebook with a grid reference and a note on the conditions.
Winter collecting rewards patience more than luck. The country is more open now than it will be again until next November, and the frost is doing the heavy work for you. Dress for the cold, go home early, and leave the ground as you found it.
Photo: royharryman / Pixabay